Wednesday 10 August 2011

King Kegs back in stock

Following a period of high demand we're pleased to announce that we have the King Keg Top Tap back in stock.


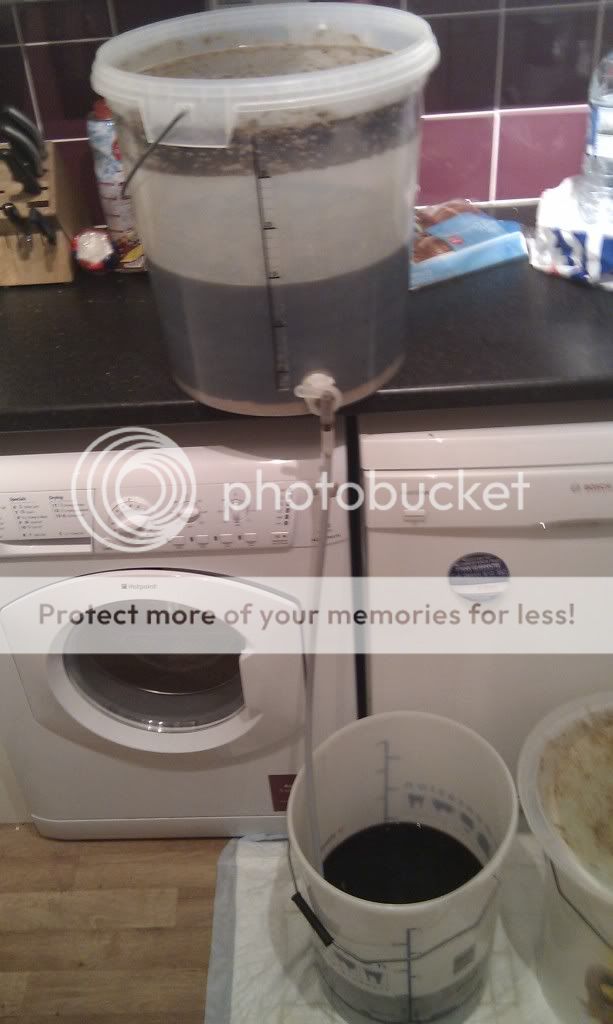
Favoured amongst home brewers due to the wide neck which facilitates easy cleaning, the top tap version of this keg has another advantage in that a glass can be placed immediately under the tap. As beer clears from the top down it is also possible to drink beer earlier than from the bottom tap version.


These kegs have the pin type valve for the 8 gram CO2 bulbs, if you require an S30 type please let us know.


Saturday 11 June 2011

Beery Gifts for Father's Day

Can't decide what to buy your beer loving Father for Father's Day?


We've got a limited supply of brewbuddy kits for bitter, cider and lager. They contain a fermenter, tin of hopped malt extract, yeast, syphon and hydrometer. You'll need brewing sugar and or spraymalt as well as either a keg or bottles to decant into, but at £20 (normally £25.99) they are a Father's Day bargain.


Strictly limited stock, first come first served.

Saturday 14 May 2011

New On the Site Today


New on the site today:


Two Can Beer Kits
Muntons Docklands Porter
St Peters Ruby Red Ale
St Peters Golden Ale
St Peters IPA


Specialist Malts
Pale Rye Malt
Crystal Rye Malt
Munich Malt

New Demonstrations

Just a quick line to let you know that we have a demonstration planned for Saturday 28th May from 2pm. Nicky will be demonstrating how to do Elderflower Fizz and Sean will be adding an elderflower tea to a Woodforde's Great Eastern Kit.


It is a good opportunity to ask those questions that have been burning away in the back of your mind. Come along and meet some like minded wine makers and home brewers.

Sunday 1 May 2011

Liquid Yeasts

Following numerous customer requests we are delighted to announce that the first batch of liquid yeasts are now available on site and in store.


They are from Wyeast whose website gives plenty of instructions on how to make a yeast starter. We've selected the propogator packs so you can easily make 6 starters making this yeast much more economical to use that their dry counterparts. 


Stand by for further developments on the all grain brewing front shortly and please keep telling us what you want. 

Sunday 27 March 2011

The Easy Home Brew Guide To Bottling

Often referred to as the "home brewers biggest pain in the bottom" bottling takes time but, if done in an organised manner it can be mildly tolerable.


Priming


For me the most laborious aspect of bottling was putting priming sugar in each bottle so one of my early purchases were a little bottler and bottling bucket. Using this method of bottling eliminates this particular hassle and also ensures you get less sediment in the bottle. 
Racking from fermenter to bottling bucket


A bottling bucket is simply a fermenter with a 25mm hole at the bottom of the wall to accept the little bottler. The idea is that you simply rack the fermented beer in to the bottling bucket using a syphon. Leave the beer in there for 24-48 hours for it to settle out. Then you need to draw off about 200-300 ml of beer into a sterilised jug and warm it in the microwave (you can also warm it on a hob if you have no microwave). You then add the requisite amount of priming sugar (i.e.85g per 23L) and return in to the bottling bucket gently so as not to introduce too much oxygen. 


After that it is simply a case of adding the bottling wand and bottling away; the valve at the bottom of the bottling wand opens when it touches the bottom of the bottle and allows the beer to flow through, when the beer reaches the top of the bottle, withdraw the wand and, hey presto, you've got the requisite amount of head space.


Cleaning and Draining


The other godsend I couldn't bottle beer without is the bottle rinser and drainer combination. Since I sterilise my bottles (and the drainer) in the bath, I then need somewhere to drain them whilst one of my teenagers requires the bathroom. I've taken to adding three chlorine bleach tablets per bath of water, leaving the bottles, rinser and drainer in there for half an hour.


When I'm sure the bottles are sterile, I take the drainer and rinser out, assemble it and then take the bottles out of the bath and leave them to drain. I then fill the rinser with boiled and cooled water and the bottling production line is almost complete.


Capping


Unless you use PET or swing top bottles, the final part of the bottling production line is capping. We sell three types at Easy Home Brew; the single handled hammer on capper, the twin lever capper and the bench capper. If you bottle a lot, I would look no further than the latter, because you can cap any bottle designed to take a crown cap which cannot be said for the twin handled lever capper. When using the bench capper, it will greatly assist your production line if they are all the same height as this will prevent you from having to adjust. Whichever method of capping you choose, please remember to sterilise your crown caps.


Production Line


I tend to use two crates which holds 20 bottles each. I fill these with beer then turn the tap on the little bottler off (you may need to place a jug underneath to catch the drips), I then move the first crate to another part of the kitchen, and cap them before starting on the second crate. This means the beer is not exposed to air longer than absolutely necessary. 


Once the bottling is done, I label, pack into wine crates, which I also label and leave in the warm for a week (circa 20c) before transferring to the shed (c13c) for a period of conditioning.